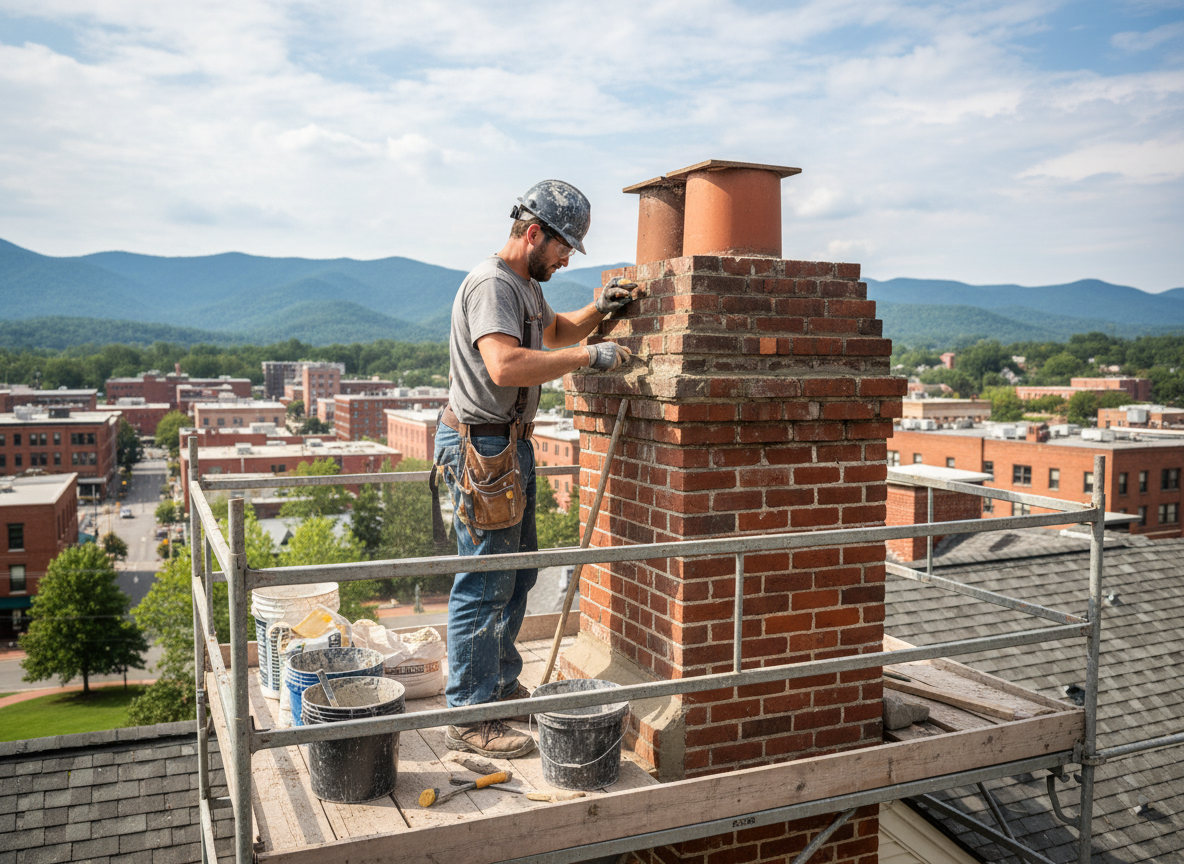
Tuckpointing on chimneys in Asheville requires matching the original lime-based mortar used in early 1900s brick homes found in neighborhoods like Montford and Grove Park. Modern Portland cement mixes fail here because they trap moisture against the softer historic brick during the frequent freeze-thaw cycles that hit the Blue Ridge foothills. Crews rake out failing joints to a consistent depth, clean the brick faces, and pack new mortar in thin layers so the chimney can expand and contract without cracking the masonry.
Homes on the steeper slopes around Asheville often have chimneys that lean slightly due to soil movement after heavy rains. Tuckpointing these requires scaffolding on uneven ground and careful repointing of both the firebox side and the exterior flue. Skipping the interior joints leaves hidden voids that allow creosote and water to migrate into the attic framing common in older Buncombe County houses.
Before starting, we check for flue liner damage and crown cracks that are typical after decades of wood burning in the Asheville climate. Proper tuckpointing uses a concave joint profile that sheds the frequent mountain rain better than flat or struck joints. Homeowners in Biltmore Village and nearby areas notice the difference when water stops staining the brick after the first winter following the repair.
Seasonal Timing for Tuckpointing
Work is best scheduled between late spring and early fall when temperatures stay above 50 degrees for several days. Winter repairs in Asheville risk flash freezing of fresh mortar before it cures.
Technician insight
In Asheville the thing that catches most people out with chimney tuckpointing is the way heavy spring rains followed by sudden freezes push water deep into the mortar on north-facing chimneys in Montford and Grove Park; homeowners often think a little surface patching will hold but the joints keep failing until the full depth is redone.
Leaning Chimney on Hillside Lot
A 1920s brick home on a slope in the Asheville area showed water stains inside the attic after winter storms. We found open mortar joints on the uphill side where soil had shifted slightly. After raking and repointing the full height with lime mortar and adding a small drainage adjustment at the base, the leaks stopped and the chimney has remained stable through two freeze-thaw seasons.
How it works
- 1
Inspection and Joint Assessment
We examine all four sides of the chimney from roof level and note failed mortar, spalled brick, and any lean caused by local soil conditions.
- 2
Mortar Removal
Old mortar is cut out to a uniform depth using hand tools to avoid damaging the surrounding brick common in Asheville historic districts.
- 3
Joint Cleaning and Dampening
Dust and debris are removed and the brick is lightly dampened so the new mortar bonds without drawing moisture too quickly in the dry mountain air.
- 4
Mortar Application and Finishing
New lime mortar is packed in layers and tooled to a concave profile that matches the original work and sheds rain effectively.
- 5
Curing and Final Check
The mortar cures under plastic sheeting for several days while we verify no water entry points remain around the crown or flashing.
Pricing
Cost depends on chimney height, number of sides accessible, and how much original mortar must be removed.